In today’s digital world, web apps are becoming increasingly popular. Whether it’s a simple to-do list app or a fully functional e-commerce platform, learning how to make an app using HTML and JavaScript opens up a wide range of possibilities.

What Is a Web App?
Before diving into the technical details, it’s important to understand what a web app is and why building one using HTML and JavaScript is a valuable skill.
A web app is an application that runs in a web browser, unlike a mobile app, which runs on a specific operating system like Android or iOS. Web apps are platform-independent, meaning they can run on any device with a browser—whether it’s a desktop, tablet, or smartphone.
Web apps are often mistaken for websites. While both are accessed via browsers, the key difference is interactivity. A website is mainly informational, whereas a web app provides a more engaging experience by allowing users to interact with data (e.g., filling forms, manipulating content, etc.).
Examples of Popular Web Apps:
- Google Docs: A collaborative document editing app that allows real-time text editing.
- Trello: A project management tool that lets users create and manage tasks in boards.
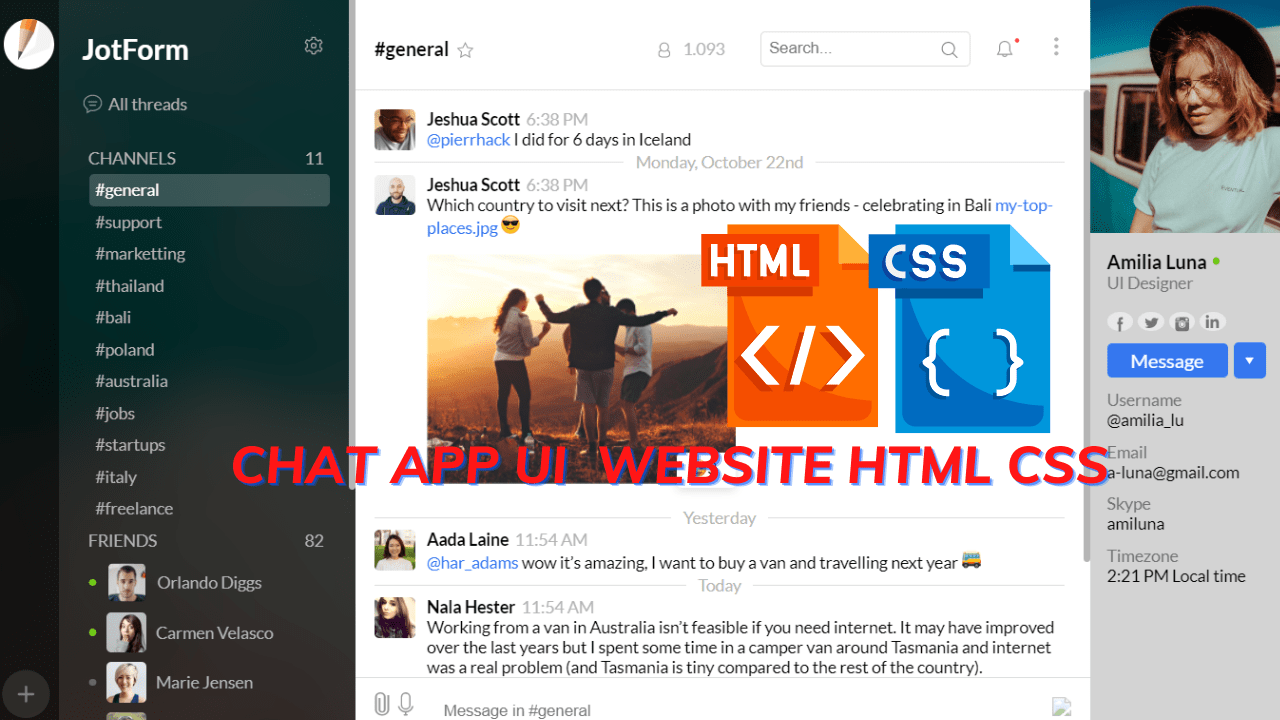
- Slack: A messaging platform designed for team communication and collaboration.
These examples illustrate how web apps can range from simple tools to highly complex platforms that integrate various features.
Why Use HTML and JavaScript for Building Apps?
There are multiple technologies available for building web apps, such as frameworks like React, Angular, or Vue.js, but starting with the basics—HTML and JavaScript—is crucial for understanding how these frameworks work under the hood.
HTML (HyperText Markup Language):
- HTML is the foundation of web development. It provides the basic structure for your app, defining things like headings, paragraphs, buttons, forms, and links.
JavaScript (JS):
- JavaScript brings interactivity to your app. It allows you to dynamically update content, respond to user actions, and communicate with backend servers without refreshing the page.
Benefits of Building an App with HTML and JavaScript:
- Simplicity: HTML and JavaScript are easy to learn, especially for beginners.
- Versatility: These technologies allow you to build apps that can run on any platform with a browser.
- Integration: You can easily integrate your app with other technologies like APIs, databases, and CSS for styling.
- Cost-Effective: HTML and JavaScript are free to use and don’t require expensive software licenses.
By mastering HTML and JavaScript, you can build powerful web apps without the need for more complex frameworks or technologies.
Understanding Web Apps vs. Mobile Apps
Now that we know what a web app is, let’s compare it with mobile apps. The key differences between web apps and mobile apps revolve around how they are built, deployed, and used.
| Aspect | Web Apps | Mobile Apps |
|---|---|---|
| Platform | Runs on browsers (Chrome, Safari, etc.) | Runs on specific platforms (Android, iOS) |
| Access | Can be accessed via URLs | Installed from app stores |
| Development | Built using HTML, JavaScript, and CSS | Built using Swift, Kotlin, Flutter, etc. |
| Deployment | Hosted on servers, updated centrally | Distributed through app stores |
| Device Compatibility | Cross-platform (works on all devices with browsers) | Requires separate development for each platform |
Web apps are generally easier to develop and maintain than mobile apps because they don’t require different versions for different platforms. Plus, updates can be made instantly by simply updating the code on the server.
A Practical Example: Simple Task Manager App
To solidify your understanding, consider this simple task manager example, which we’ll eventually build in this guide:
- HTML will provide the structure for our app’s interface.
- JavaScript will handle tasks like adding new items to a list, deleting items, and storing tasks locally.
This basic app will demonstrate the power of HTML and JavaScript, even without complex technologies.

Setting Up Your Development Environment
Tools You Need to Build an App Using HTML and JavaScript
Before we can start coding, it’s crucial to set up a proper development environment. While building a simple app using HTML and JavaScript doesn’t require a sophisticated setup, having the right tools will improve your workflow and efficiency.
Choosing a Text Editor
A good text editor is your primary tool when building web apps. It’s where you’ll write and organize your HTML, JavaScript, and CSS files.
Here are a few popular text editors that are perfect for web development:
- Visual Studio Code (VS Code) – Free, open-source, and packed with features like syntax highlighting, debugging, and integrated Git control.
- Sublime Text – Lightweight and fast with powerful features, though some advanced features require a paid license.
- Atom – Another open-source editor developed by GitHub, Atom is highly customizable with a wide range of plugins.
Why use these text editors?
They all provide features like:
- Syntax highlighting for HTML, CSS, and JavaScript to make your code more readable.
- Code suggestions and auto-complete, which help you code faster.
- Extensions or plugins that make tasks like debugging and version control much easier.
Setting Up Your Project Folder
Once you have your text editor ready, it’s time to set up your project folder. Organizing your files properly will save you time and effort, especially as your app grows in complexity.
Here’s a basic folder structure for your app:
/my-app

  ├── /css

  │   └── style.css

  ├── /js

  │   └── app.js

  └── index.html
- /css folder: Contains all your CSS files for styling.
- /js folder: Holds your JavaScript files.
- index.html: The main HTML file where the app’s structure is defined.
This structure ensures that your HTML, JavaScript, and CSS are separated, making it easier to manage each part of the app.
Installing a Local Development Server (Optional)
For more complex apps, you may want to set up a local development server to simulate how your app will run in a real-world environment. While this step is optional for simple apps, it becomes necessary as your app grows in complexity.
There are various ways to do this, but one easy method is using Live Server, a popular extension in Visual Studio Code. Live Server automatically reloads your app in the browser every time you make a change, making the development process more seamless.
Steps to set up Live Server in VS Code:
- Open VS Code.
- Install the Live Server extension from the Extensions marketplace.
- Right-click on your
index.htmlfile and select Open with Live Server.
This will open your app in a browser, and you’ll see any changes you make reflected instantly.
Basic Structure of an HTML and JavaScript App
Once your environment is set up, it’s time to start coding. In this section, we’ll go over the basic structure of a simple HTML and JavaScript app and explain how these two languages interact.
Understanding HTML, CSS, and JavaScript Integration
When creating a web app, HTML, CSS, and JavaScript work together to deliver a cohesive experience. Let’s break down each of these components and how they fit together:
- HTML (Structure): Defines the layout of your app. It includes elements like headers, buttons, forms, and inputs.
- CSS (Style): Styles your app’s interface. CSS determines how your app looks—its colors, fonts, and spacing.
- JavaScript (Behavior): Adds interactivity to your app. JavaScript makes your app dynamic by allowing users to perform actions like clicking buttons or submitting forms.
Here’s an example of a basic HTML page structure:
<html lang="en">
<head>
<meta charset="UTF-8">
<meta name="viewport" content="width=device-width, initial-scale=1.0">
<title>Simple Web App</title>
<link rel="stylesheet" href="css/style.css">
</head>
<body>
<h1>My First Web App</h1>
<button id="myButton">Click Me!</button>
<script src="js/app.js"></script>
</body>
</html>
- The
<head>tag includes meta information and links to external files like CSS. - The
<body>tag contains the visible content of your app, such as headers and buttons. - The
<script>tag is used to link your external JavaScript file.
Linking HTML and JavaScript Files
To keep things organized, you’ll typically want to write your JavaScript code in a separate file. Linking your JavaScript file to your HTML document is easy. In the above example, we use this line to link the JavaScript:
<script src="js/app.js"></script>
By placing the <script> tag at the bottom of the <body>, we ensure that the HTML is fully loaded before the JavaScript runs. This is a best practice to avoid errors when trying to access HTML elements that haven’t been loaded yet.

Building the Frontend: HTML for Structure
Now that your development environment is set up, it’s time to dive into building the frontend of your web app. The frontend is what users will interact with, so we’ll start by creating the structure of the app using HTML. HTML provides the foundation of any web application by laying out the elements and content on the page.
Creating the User Interface with HTML
The user interface (UI) refers to everything that users can see and interact with. In this section, we’ll focus on building a basic interface for our app using HTML elements.
Using HTML Elements to Build Layouts
HTML provides a wide range of elements that allow you to structure your app’s layout. Some common HTML elements include:
<div>: A block-level element used to group content.<header>: Defines the header section of the app.<button>: Creates clickable buttons.<input>: Allows users to input text or data.<form>: Groups input elements for submission.
To give you a better idea, let’s create a simple structure for a task manager app:
<html lang="en">
<head>
<meta charset="UTF-8">
<meta name="viewport" content="width=device-width, initial-scale=1.0">
<title>Task Manager</title>
<link rel="stylesheet" href="css/style.css">
</head>
<body>
<header>
<h1>Task Manager</h1>
</header>
<div class="container">
<form id="taskForm">
<input type="text" id="taskInput" placeholder="Enter a task">
<button type="submit">Add Task</button>
</form>
<ul id="taskList"></ul>
</div>
<script src="js/app.js"></script>
</body>
</html>
Let’s break this down:
<header>: We create a header that contains the app’s title, “Task Manager”.<div class="container">: Thisdivserves as a container for the form and the task list.<form id="taskForm">: The form contains an input field for users to enter tasks and a button to submit the form.<ul id="taskList">: This unordered list (ul) will be populated dynamically with tasks.
This simple HTML structure provides the foundation for a functional task manager app.
Adding Forms and Input Fields for User Interaction
In most web apps, users interact with the app by inputting data. In our task manager app, users will add tasks using an input field and a submit button. Let’s take a closer look at the key components:
- Input Field (
<input>):- This is where users will type in their tasks.
- The
placeholderattribute gives a hint about what kind of data users should enter. - Example:
<input type="text" id="taskInput" placeholder="Enter a task">
- Submit Button (
<button>):- The button allows users to submit their task.
- We use the
type="submit"attribute to specify that this button is used for form submission. - Example:
<button type="submit">Add Task</button>
- Form (
<form>):- The form groups the input field and the button. When the form is submitted, we’ll use JavaScript to capture the data entered by the user.
- Example:
<form id="taskForm">...</form>
Together, these elements create a simple way for users to interact with the app.
Styling Your App with Basic CSS
Once the structure is in place, we can use CSS (Cascading Style Sheets) to make our app visually appealing. CSS controls how HTML elements are displayed on the screen, from colors and fonts to layout and spacing.
Here’s a basic CSS file to style our task manager app:
/* CSS - style.css */

body {

  font-family: Arial, sans-serif;

  background-color: #f4f4f4;

  margin: 0;

  padding: 0;

  display: flex;

  justify-content: center;

  align-items: center;

  height: 100vh;

}
.container {

  background-color: white;

  padding: 20px;

  border-radius: 8px;

  box-shadow: 0 0 10px rgba(0, 0, 0, 0.1);

  width: 300px;

}
header {

  text-align: center;

  margin-bottom: 20px;

}
#taskForm {

  display: flex;

  justify-content: space-between;

}
#taskInput {

  flex-grow: 1;

  padding: 10px;

  margin-right: 10px;

  border: 1px solid #ccc;

  border-radius: 4px;

}
button {

  padding: 10px;

  background-color: #28a745;

  color: white;

  border: none;

  border-radius: 4px;

  cursor: pointer;

}
button:hover {

  background-color: #218838;

}
#taskList {

  margin-top: 20px;

  list-style-type: none;

  padding: 0;

}
#taskList li {

  padding: 10px;

  background-color: #f8f9fa;

  margin-bottom: 5px;

  border-radius: 4px;

  display: flex;

  justify-content: space-between;

  align-items: center;

}
#taskList li button {

  background-color: #dc3545;

  padding: 5px;

  color: white;

  border: none;

  border-radius: 4px;

  cursor: pointer;

}
#taskList li button:hover {

  background-color: #c82333;

}
This CSS file enhances the appearance of our app by:
- Centering the app on the screen using
flexbox. - Adding a container with padding and a subtle shadow.
- Styling the form to make it visually appealing.
- Giving the input field and button a consistent look and feel.
- Styling the task list with padding, background colors, and delete buttons.
Key CSS Properties Used:
flexbox: A modern layout system used to center and align elements.paddingandmargin: Controls the spacing around elements.border-radius: Rounds the corners of elements.box-shadow: Adds a subtle shadow to elements, giving them depth.hoverpseudo-class: Changes the button’s color when users hover over it, improving interactivity.
With this CSS in place, our app will look polished and professional, even though it’s simple.