Embarking on Equine Artistry: A Comprehensive Guide to Drawing a Whole Horse
Laying the Foundation: Understanding Proportions and Anatomy
The desire to capture the impressive form of a horse on paper is something many artists, from beginners to experts, find deeply engaging. Yet, to create a believable equine figure, a simple sketch isn’t enough; it demands a fundamental grasp of the animal’s complex structure and balanced proportions. Consider it like building anything substantial — a strong plan is vital before the first step. Without knowing the basic bone structure and muscle arrangement, your horse drawing might resemble a creature of fantasy more than the elegant animal you aim to depict.
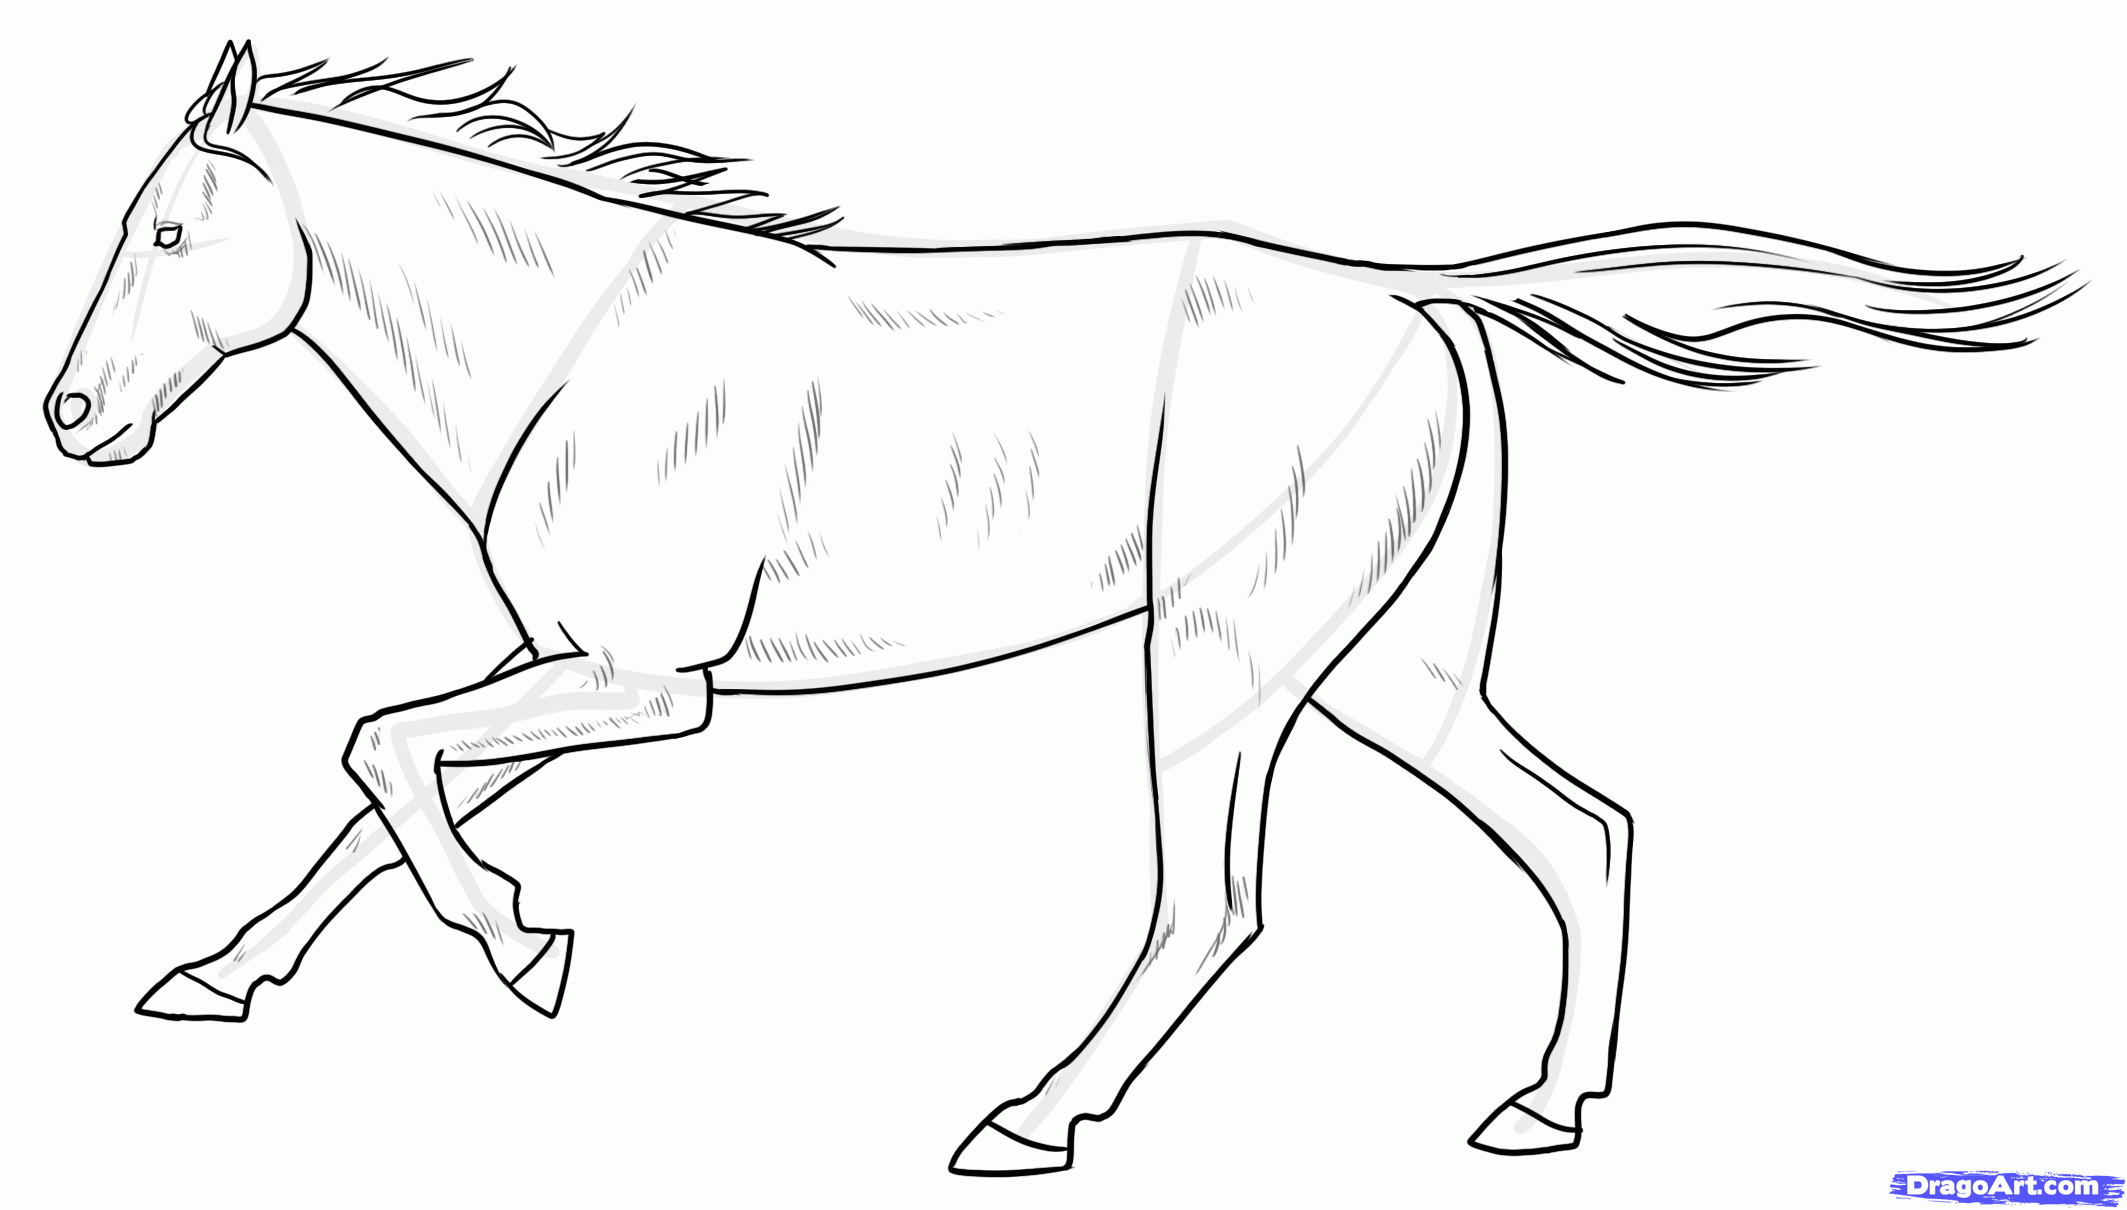
Begin by getting familiar with the main parts of a horse: the head, neck, body (which includes the chest and abdomen), and the four legs. Observe how these parts connect and interact. Notice the relatively long neck that allows for a wide range of head movements, the powerful rear that pushes the horse forward, and the seemingly delicate yet strong legs designed for speed and agility. Studying anatomical illustrations and real photographs, or even better, watching actual horses, will be incredibly helpful in understanding these important relationships.
A frequent mistake for those just starting out is misjudging the relative sizes of these body parts. For example, the horse’s head is often drawn too large or too small compared to its body. Remember that the length of the horse’s head is roughly similar to the depth of its chest. Also, the legs, while they appear slender, have distinct upper and lower sections with noticeable muscles, especially in the thighs and forearms. Paying close attention to these proportional relationships from the start will prevent significant structural problems later in your drawing process.
Don’t be discouraged if your first attempts don’t immediately look like a champion horse. Like any artistic skill, drawing takes practice and careful observation. Start with simple shapes to represent the main body masses — ovals for the body and head, cylinders for the legs. Gradually refine these basic forms, paying attention to the subtle curves and angles that define the horse’s unique outline. Think of it as sculpting; you begin with a rough block and slowly shape it to reveal the form within.
Establishing the Framework: The Importance of Basic Shapes and Lines
Constructing the Underlying Structure for Accuracy
Before getting into the finer details of a horse’s muscles and coat, it’s essential to create a solid framework using simple geometric shapes and lines. This initial stage acts as the skeleton of your drawing, ensuring correct proportions and a dynamic pose. Consider it like an architect drafting the basic structure of a building before adding walls and windows. Ignoring this step can lead to a final drawing that feels disconnected and anatomically incorrect, no matter how well the individual features are drawn.
Begin by lightly sketching simple shapes like ovals, circles, and cylinders to represent the horse’s main body parts — the head, chest, abdomen, and the upper and lower parts of the legs. These shapes don’t need to be perfect; their purpose is to provide a basic outline and spatial relationship between the different parts. For instance, an elongated oval can represent the body, while a smaller circle can be the starting point for the head. Pay attention to the angles and connections between these shapes to capture the overall posture and movement you want to show.
Next, use light, flowing lines to connect these basic shapes and establish the contours of the horse’s body. These lines will define the neck, back, and the flow of the limbs. Visualize the underlying bone structure as you draw these lines, paying attention to the curves of the spine and the angles of the joints. Remember that these initial lines are just guidelines and can be adjusted as you refine your drawing. Don’t hesitate to experiment and make corrections at this stage; it’s much easier to fix structural issues early on than to try and correct them once you’ve added significant detail.
Think of this stage as creating a mannequin for your horse. Just as a mannequin provides a basic form for clothing to hang on, these initial shapes and lines provide the foundation upon which you will build the more detailed aspects of your drawing. By focusing on the overall structure and proportions at this stage, you’ll ensure that your final artwork is both visually appealing and anatomically sound. It might seem like a simple step, but mastering the use of basic shapes and lines is fundamental to drawing any subject accurately, especially one as dynamic and complex as a horse.
Adding Form and Volume: Sculpting the Horse’s Musculature
Bringing Depth and Realism Through Shading and Contour
Once you have established a solid framework of basic shapes and lines, the next important step is to add form and volume to your drawing. This is where your horse starts to transform from a flat outline to a three-dimensional representation. Consider it like a sculptor adding clay to a wire frame, gradually building up the contours and mass of their subject. Understanding the underlying muscles of the horse is key to achieving a realistic and dynamic portrayal.
Observe the major muscle groups of a horse — the powerful rear responsible for movement, the defined muscles of the chest and shoulders that contribute to its graceful motion, and the long, flowing muscles of the neck. While you don’t need to be a veterinary expert, a basic understanding of where these muscles are located and how they interact will significantly enhance the realism of your drawing. Pay attention to how these muscles bulge and flex depending on the horse’s pose and movement.
The main tools for adding form and volume are shading and contour lines. Contour lines follow the edges and curves of the horse’s body, emphasizing its three-dimensional shape. Varying the thickness and pressure of your pencil can create a sense of depth, with thicker lines suggesting areas that are closer and thinner lines indicating areas that recede. Shading, on the other hand, involves applying different tones to create the illusion of light and shadow. Identify where your light is coming from and consider how it would fall across the horse’s body, creating bright areas on the raised surfaces and darker areas in the recessed parts.
Start with light, even layers of shading and gradually build up darker tones in the shadow areas. Pay attention to the subtle transitions between light and shadow, as this will create a smoother and more realistic appearance. Consider the texture of the horse’s coat as well; short, smooth hair will reflect light differently than a longer, shaggier coat. Experiment with different shading techniques, such as parallel lines, intersecting lines, and blending, to achieve the look you want. Remember, adding form and volume is a process of refinement; don’t be afraid to go back and adjust your shading and contour lines as you develop your drawing.
Refining the Details: Capturing the Essence of the Equine Form
Adding Character and Personality Through Finer Elements
With the fundamental structure, form, and volume in place, the next stage involves refining the details that truly bring your horse drawing to life. This is where you focus on capturing the unique characteristics of the equine form, adding personality and realism to your artwork. Consider it like adding the finishing touches to a carefully made piece of furniture, the small details that elevate it from functional to exceptional. This stage requires careful observation and a steady hand.
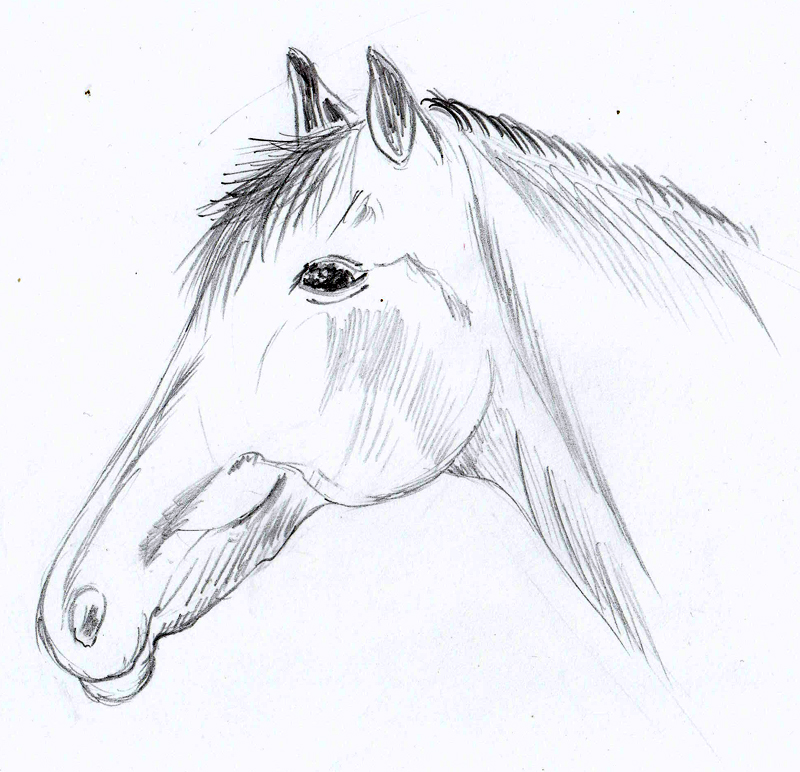
Pay close attention to the details of the horse’s head. The shape and placement of the eyes, the subtle curves of the muzzle, and the delicate structure of the ears all contribute to its individual expression. Observe how light reflects off the smooth surface of the eye, creating highlights that add depth and sparkle. Notice the subtle variations in tone and texture around the nostrils and mouth. The ears, often expressive indicators of a horse’s mood, should be carefully drawn, paying attention to their shape, size, and the direction they are pointing.
Consider the flow and texture of the horse’s mane and tail. These can add a sense of movement and dynamism to your drawing. Observe how the hair falls and catches the light, creating highlights and shadows. Pay attention to the individual strands and the overall mass. Similarly, focus on the details of the legs and hooves. The tendons and ligaments visible beneath the skin contribute to the horse’s athletic appearance. The hooves, while seemingly simple, have a distinct shape and texture that should be accurately portrayed.
Don’t underestimate the power of subtle details in conveying the overall character and personality of your equine subject. The way a horse holds its head, the set of its ears, and the subtle tension in its muscles can all communicate a wealth of information about its temperament and mood. By carefully observing and accurately drawing these finer elements, you can elevate your drawing from a mere representation to a captivating portrait of a magnificent animal. Remember, patience and attention to detail are key at this stage; take your time and enjoy the process of bringing your horse to life on paper.
Bringing it All Together: Final Touches and Considerations
Reviewing, Refining, and Celebrating Your Artistic Journey
As you near the completion of your horse drawing project, it’s important to step back and critically assess your work. This final stage involves reviewing the overall composition, refining any remaining imperfections, and ultimately acknowledging the artistic journey you’ve taken. Consider it like a conductor leading the final movements of a symphony, ensuring all the elements work together to create a powerful and unified whole. Your careful eye and attention to detail at this stage will make a significant difference.
Begin by looking at your drawing from a distance. This will allow you to see the overall balance and proportions more clearly, revealing any areas that might still seem awkward or out of place. Pay particular attention to the flow of lines, the transitions between different forms, and the distribution of light and shadow. Don’t hesitate to make further adjustments at this stage; even small changes can greatly improve the overall impact of your artwork. Consider whether the horse’s pose conveys the intended sense of movement or stillness, and whether its expression effectively communicates its character.
Refine the details you’ve already established, paying attention to the smoothness of your shading, the clarity of your contour lines, and the accuracy of the anatomical features. Erase any stray lines or smudges that might distract from the finished piece. Consider adding subtle textures to the horse’s coat or the surrounding environment if you’ve included one. These small touches can add depth and realism to your drawing. Remember that often, simplicity is best; avoid adding too much detail to any one area, as this can make it appear stiff or unnatural.
Finally, take a moment to appreciate the work you’ve created. Drawing a whole horse is a challenging yet rewarding artistic endeavor. Reflect on the skills you’ve developed and the knowledge you’ve gained throughout the process. Whether you’re an experienced artist or just starting out, each drawing is a learning opportunity and a testament to your dedication and creativity. Consider signing and dating your artwork as a final personal touch. Congratulations on bringing your equine vision to life!
Frequently Asked Questions (FAQ)
Addressing Common Queries for Aspiring Equine Artists
We understand that starting the process of drawing a whole horse can bring up many questions. Don’t worry, aspiring equine artists! We’ve put together a few common questions to help guide you on your creative path.
Q: What are the most common mistakes beginners make when drawing horses?
A: Ah, the typical beginner challenges! Often, those new to drawing horses tend to misjudge the proportions, especially the size of the head relative to the body. Legs can also be tricky, frequently drawn too short or too thin. Another common issue is overlooking the underlying anatomy, which can result in a horse that looks a bit…well, not quite right. Don’t worry, it’s a learning curve! The key is practice and careful observation. Think of it like learning a new skill; you might face some initial difficulties, but with time and effort, you’ll improve.
Q: What drawing tools are essential for drawing horses?
A: Rest assured, you don’t need a vast array of expensive tools to begin your equine artistry! A good set of graphite pencils of different hardness levels (from light to dark), a quality eraser (kneaded erasers are excellent for lifting graphite), and some strong drawing paper are your reliable companions for this artistic journey. As you progress, you might explore charcoal or colored pencils, but for now, keep it simple. Think of it like learning a musical instrument; you don’t need a concert grand piano to start — a basic keyboard will work perfectly!
Q: How can I improve my understanding of horse anatomy for drawing?
A: Excellent question! The best way to truly understand a horse’s form is through observation. If possible, spend time watching live horses in various poses and movements. Pay attention to how their muscles move and how their bodies shift. If observing live horses isn’t easily possible, high-quality photographs and anatomical illustrations are very helpful. There are also many online resources and art books dedicated to equine anatomy. Think of it as becoming a researcher of the equine form, carefully studying the details to understand their structure and movement. The more you study, the more believable and dynamic your drawings will become!

Horse Drawing Step By Samantha Bell

Draw A Horse With Pencil. Print Your Own Painting Drawing By Khudair

How To Draw A Realistic Horse Step By Video For Beginners And Kids

Free Horse Drawing Easy, Download Easy Png Images

Seriously Horsing Around Fun Graphic On How To Draw A Horse
